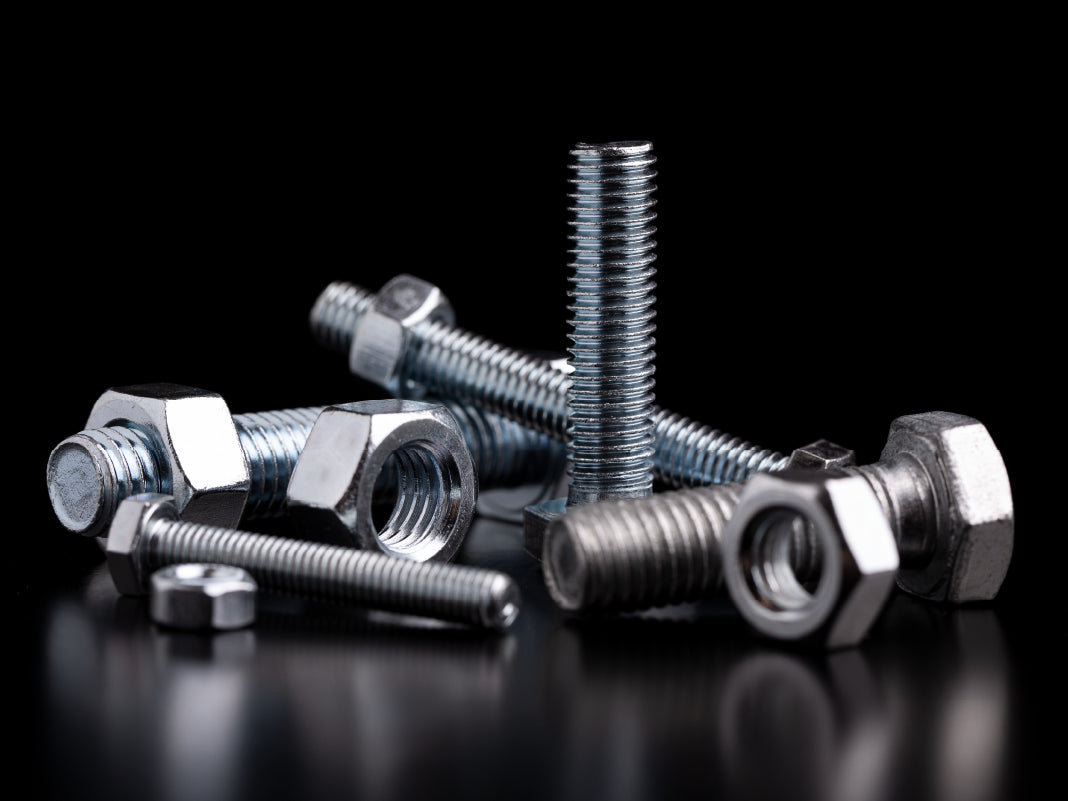
In the world of DIY repairs and construction work, a cross-threaded bolt can pose a significant challenge. Cross-threading can occur when threads of a bolt face the incorrect direction, negatively impacting the bolt's strength and causing an array of potential issues. For machinery and automobiles, it could lead to abnormal noises and possible part disintegration if not properly addressed. So how does one handle this issue successfully? Here's your comprehensive guide on why cross-threading happens, how to identify it, and ultimately, the best techniques to fix it.
The Genesis of Cross-threading
Several scenarios can trigger cross-threading:
Rushed installations: If you're in a hurry and don't align the bolt perfectly with the hole, it may cause damage. To avoid this, always double-check and listen for a 'click' sound when bolting, signaling that the bolt is seated properly.
Overreliance on power tools: While power tools can speed up the process, they aren't always your best friend when it comes to aligning threads. For a more sensitive touch, consider tightening bolts manually initially to ensure correct alignment, then bring in your power tools.
Debris and damage: A dirty bolt can lead to unintentional cross-threading. Always make sure bolts are clear of debris before inserting them.
Incorrect pitch: Using the wrong pitch can cause the nut to cross-thread with the bolt. This often happens with vehicle repairs when the bolt doesn't quite match the wheel stud.
Detecting Crossed Threads
Listen for noise: Crossed threads can weaken the equipment's torque and cause more vibrations. If your vehicle or machinery begins to rattle, it may be a sign of cross-threading.
Look for immobile fasteners: If the bolt fails to go all the way through the socket or hole, it could be due to crossed threads.
Getting Rid of Crossed Threads
There are specific tools available that help remove crossed threads. Here are some tips to ply them effectively:
Lubrication: Before removing an old bolt, always use a quality lubricant or penetrating fluid to ease the process.
Use tools wisely: A strategically placed screwdriver can increase the turning space of the bolt or a drop of anti-cam out fluid can provide better grip.
Locking Pliers: For tougher bolts, locking pliers can provide the grip you need, unlike flat-jaw pliers or needle nose pliers, though they might slightly distort the bolt head.
Repairing Crossed Threads
Repairing crossed threads isn't dramatically different from fixing striped threads, and you have multiple options:
Thread files: These are the first line tools for external threads. Use them like a small saw, carefully redefining the threads.
Taps and Dies: Use the tap for internal thread realignment and dies for the external threads,
Thread Plows: These give a workable, though less ergonomic option for repairs.
Helicoil: This technique is more reliable but works only for the internal threads and involves several steps with a drill, a tap, and installation tools.
Rotary Thread: This innovative tool offers an efficient, versatile, and effective means of repairing crossed threads.
In conclusion, crossed threads can lead to wear and tear and the weakening of machinery components. However, with the right tools, notably the Rotary Thread, it's entirely manageable. This versatile tool can work with internal and external threads, making it an essential addition to any repair kit. Armed with this tool and some know-how, you'll be well prepared to tackle any case of cross-threaded bolts.
Link to share
Use this link to share this article
